Edit Content

Account & Profile

Products, Projects, Pros, & Suites

Elements

Forums

Terms and Policies

Creating a Bookable Product

How Can I create a Bookable Product?

In this set of instructions we will go through creating a bookable product on Luxauro. Bookable products are used for Charter Products and are especially helpful for GMG Professionals who offer meetings, etc.. Note: when creating a bookable product on Luxauro hovering over the tool-tips (marked by a question mark) will present additional helpful information not presented in this tutorial.

Creating Simple Bookable Products

Navigate to go to your vendor dashboard page.  >> Click on either the “booking” tab or the “products” tab, both will allow you to create a bookable item.

If you navigated to the “Booking” tab scroll down to the bottom of the page and click the “create bookable” button. You will be taken to the new product page, which is where you want to be.

If you navigated to the “products” tab click the “add new product” button, you will be brought to same “add new product page”.

On this new product page you can begin filling out the details, then scroll down to the Booking section.

Follow the instructions given in the sections below for the specific type of bookable product you are creating.

Be sure to save your product once you have finished creating your bookable product and filling out all of the details.

**Note: The new product page allows you to choose your product type (simple, variable, group product, external/affiliate product) for this tutorial we will be creating a simple bookable product. From here you can enter product details, descriptions, etc. 

Bookable Type: Single Day

In this section, we’ll focus on setting up a single-day bookable item, which is perfect for activities like day tours or equipment rentals.

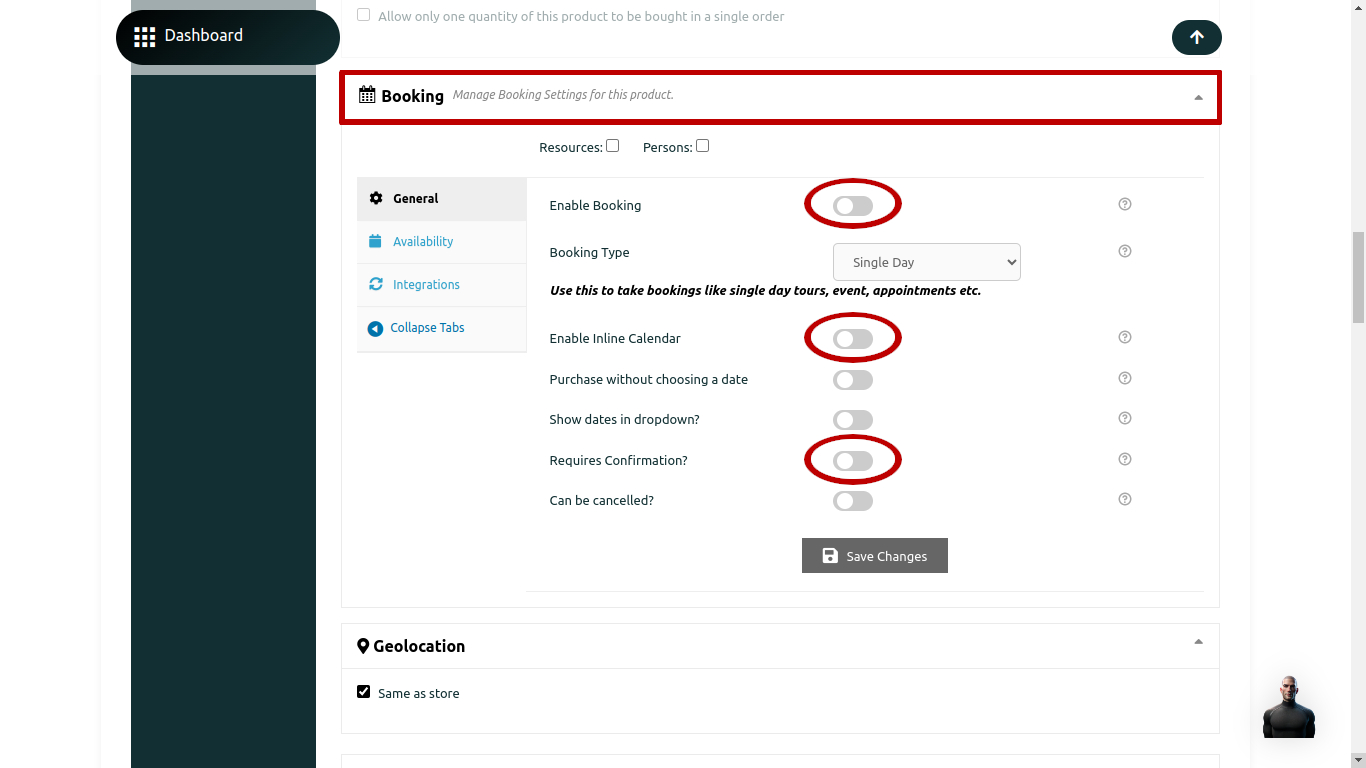
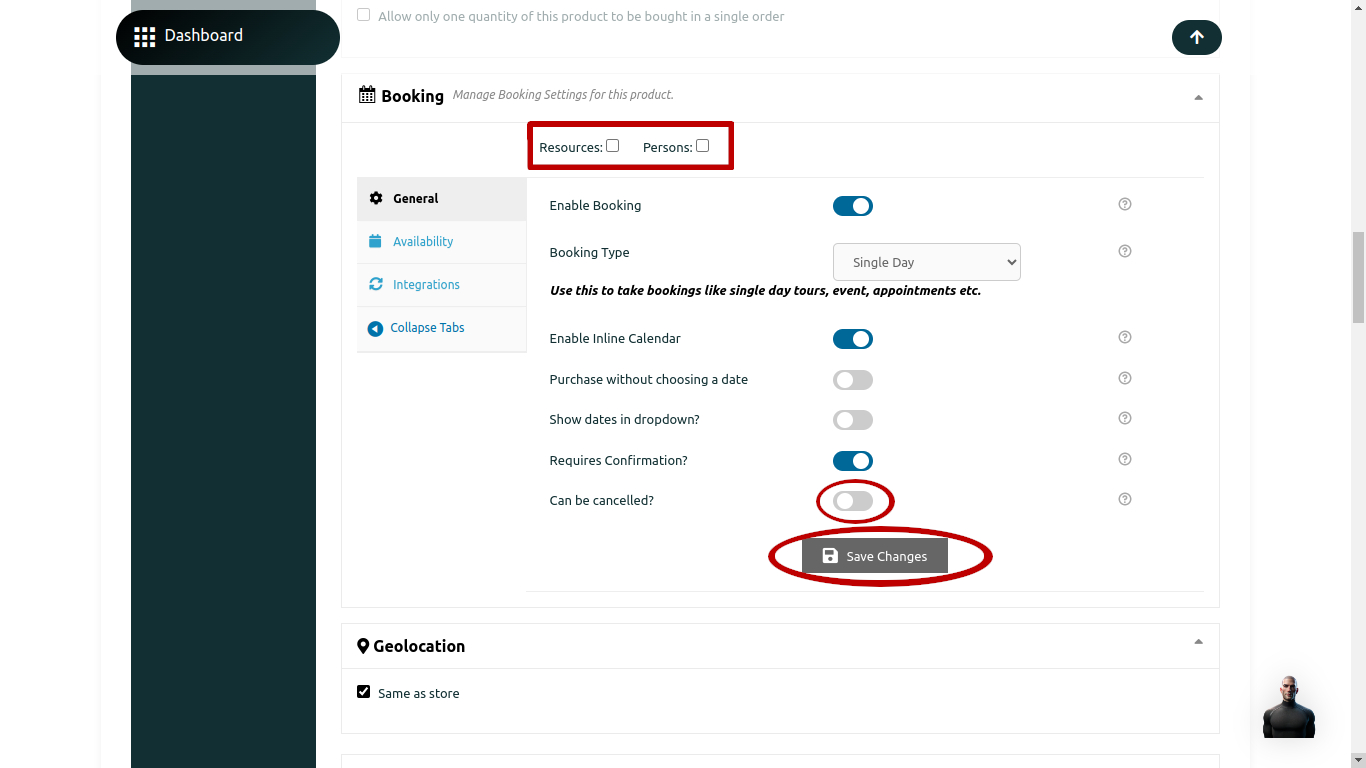
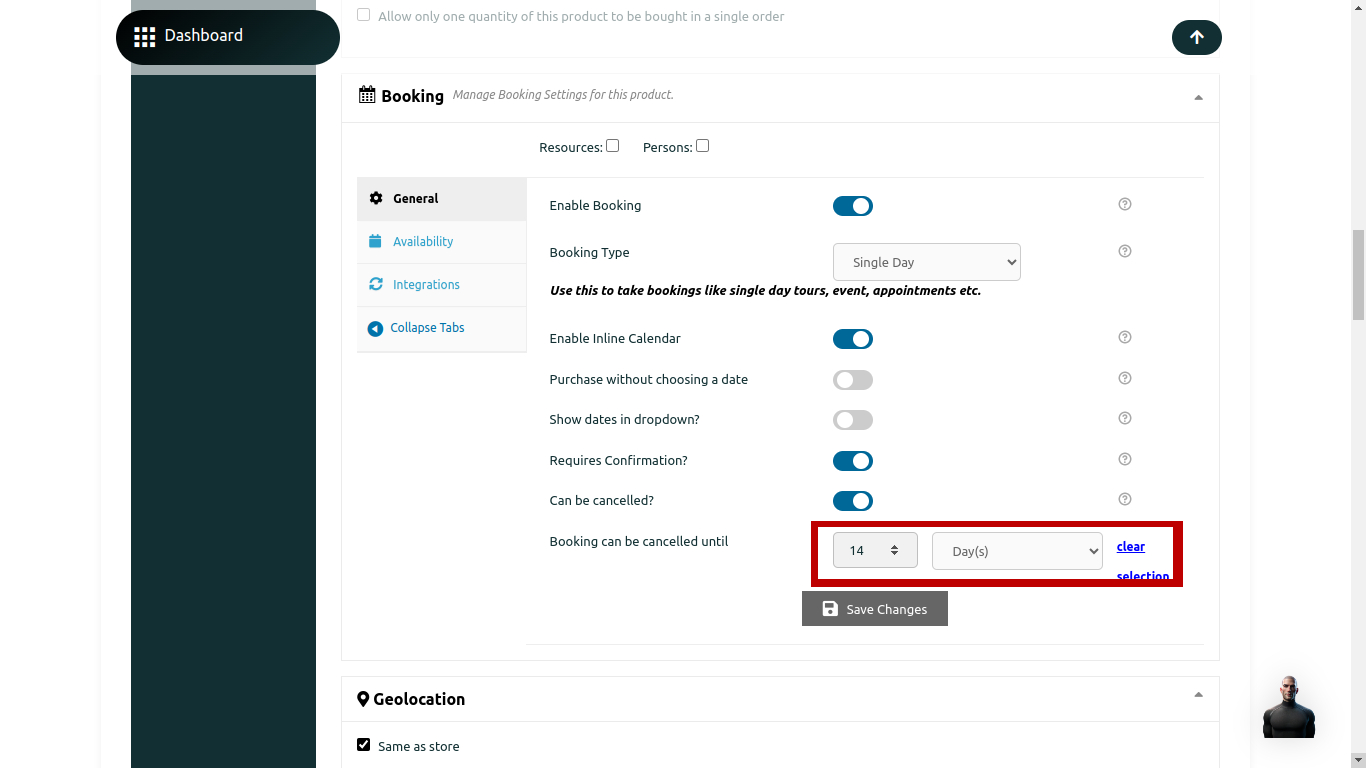
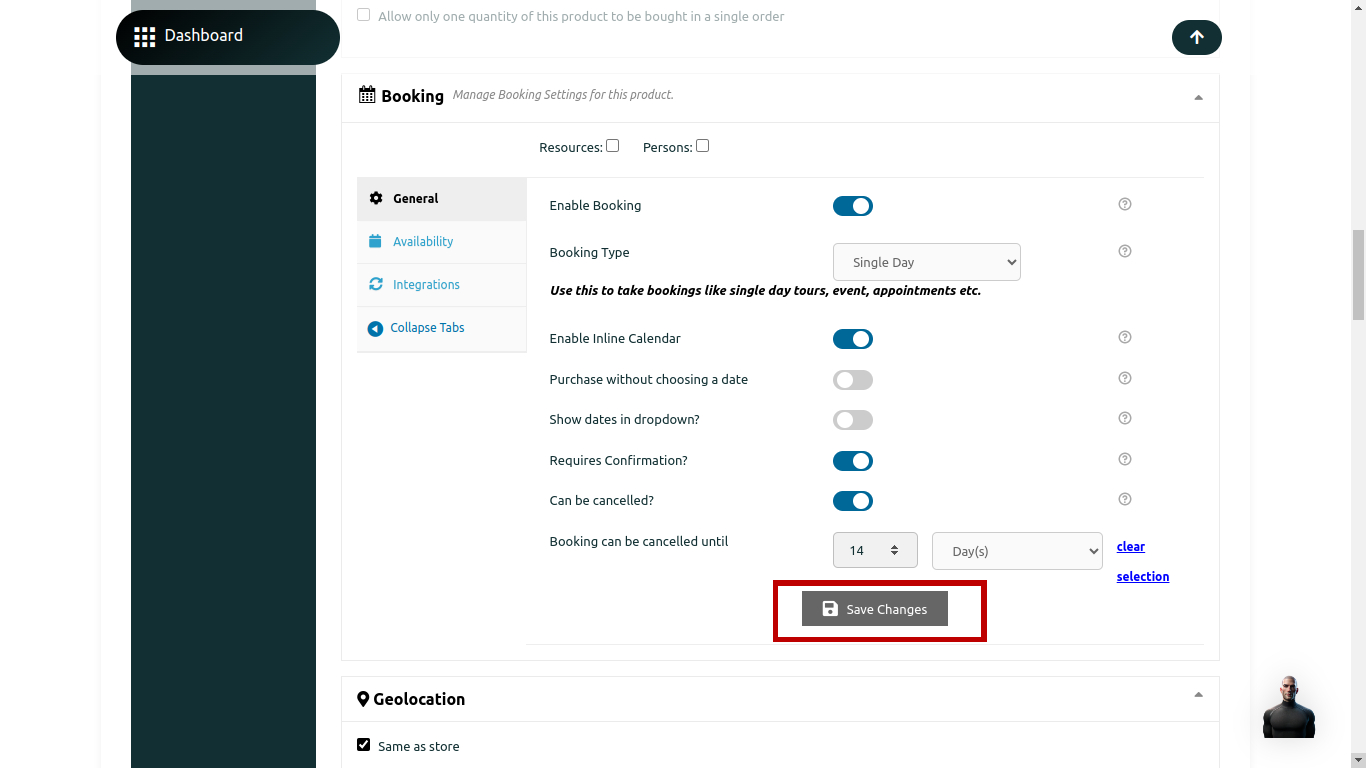
To start, head to the booking section of your product and activate the “enable booking” slider button. You’ll then encounter a range of slider buttons with options such as enabling an inline calendar or allowing purchases without selecting a date. Adjust these settings based on your preferences; we recommend enabling the inline calendar so customers can easily view availability.

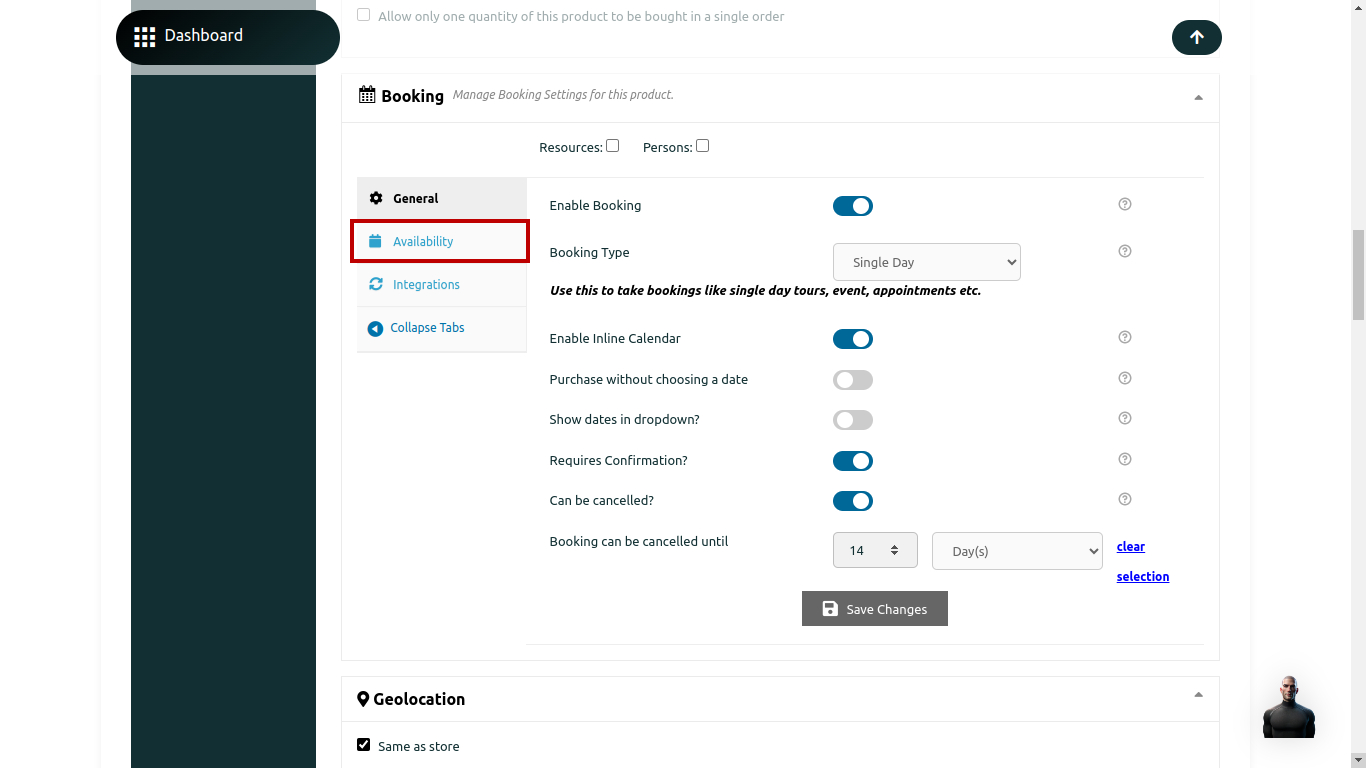
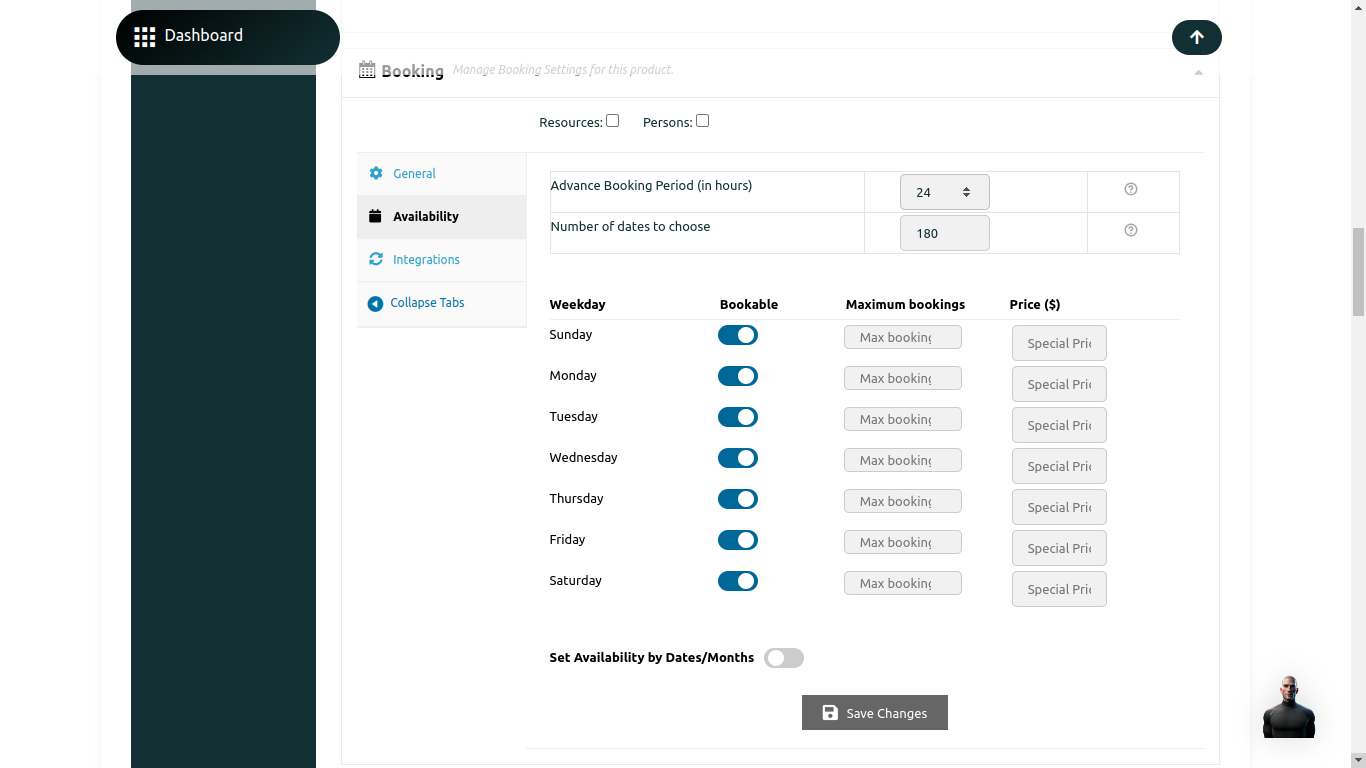
Once you’ve saved these changes, navigate to the “availability” tab on the left. Here, you’ll find several settings to customize, including the “advance booking period in hours,” which determines how far in advance customers must book. You can also specify the number of dates customers can choose from and designate which weekdays are available for booking. If certain days, like weekends, aren’t open for bookings, you can mark them as “non-bookable.” Additionally, you can set maximum booking limits for each day of the week and mark holidays as “non-bookable” under the “set availability by dates/months” setting.

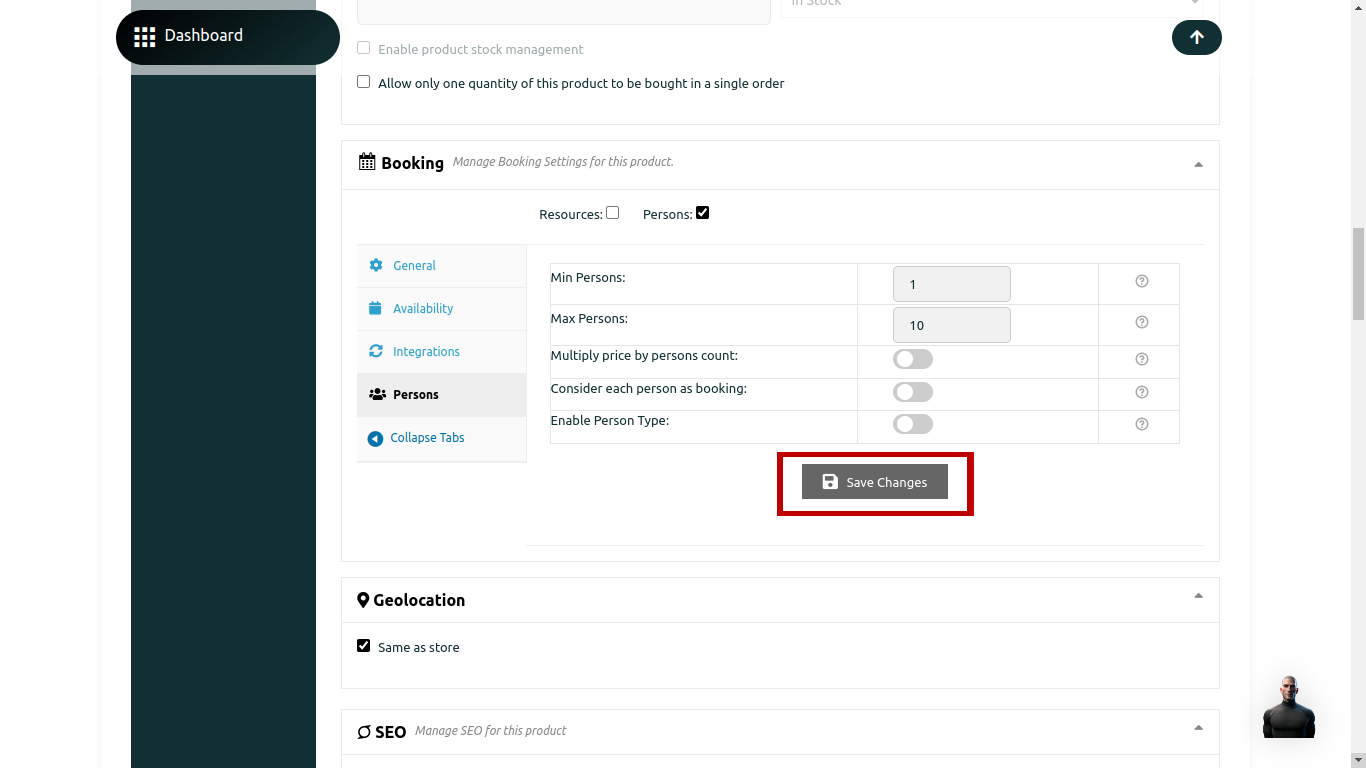
We’ll cover the “integrations,” “persons,” and “resources” tabs later in this tutorial.

Bookable Type: Multiple Nights

Now, let’s delve into creating a multiple-night bookable product, such as hotel rooms or vacation rentals.

Begin by navigating to the booking section of your product and activate the “enable booking” slider button. Ensure the booking type is set to “multiple nights.” Next, you’ll encounter a series of slider buttons with options like enabling an inline calendar or allowing purchases without selecting a date. Adjust these settings according to your preferences; we recommend enabling the inline calendar for easy viewing on the front end.

After saving your changes to the above settings, head to the “availability” tab on the left. The settings here resemble those for single-day bookings, with a few additions. You’ll find settings for the maximum and minimum number of nights to book, as well as the “maximum bookings on any date” setting, which determines how many bookings can be made for a single date. If you’re offering multiple similar rooms under one “bookable product,” you can adjust this setting accordingly.

Finally, click on the “Block Pricing” tab on the left. Here, you can set “bookable blocks of dates.” For example, you can charge higher rates for bookings falling on holidays using this feature.

Additional instructions & visual walkthrough coming soon!

Bookable Type: Fixed Time

Let’s proceed to creating a fixed-time bookable product, suitable for appointments or sessions with set times. (There is a video below walking you through these same steps.)

Start by navigating to the booking section of your product and activate the “enable booking” slider button. Ensure the booking type is set to “fixed time.” You’ll then encounter a series of slider buttons with options such as enabling an inline calendar or allowing purchases without selecting a date. Customize these settings based on your preferences; we suggest enabling the inline calendar for easy calendar viewing on the front end.

After saving your changes to the above settings, move to the “availability” tab on the left. The settings here resemble those for single-day bookings. However, there’s a significant difference: if you scroll down, you’ll find the “set weekdays/dates and its timeslots” setting. Here, you can list the available time slots for each day/date according to the instructions provided.

Additionally, you have the option to disable all dates and list specific date ranges available for booking by turning the slider button “make all date blocks unavailable” to the “on” position. This allows you to offer booking availability only during specific time periods.

Video Tutorial: Creating a Fixed Time Bookable Product

Bookable Type: Duration Based Time

This section will cover creating a duration based time bookable product. This type is optimal when you want your customer to select required time duration for booking. For example sports, appointments etc.

Instructions & visual walkthrough coming soon!

Bookable Type: Dates

This section will cover creating a “dates” bookable product. This option is best for booking that entail multiple dates.

Instructions & visual walkthrough coming soon!

Bookable Type: Dates & Fixed Time

Let’s create a “Dates & Fixed Time” bookable product. Use this option for multiple dates and fixed time slots bookings.

Instructions & visual walkthrough coming soon!

Integrations

Although this is non-essential, this option is available for every booking type. You can export your bookings to google calendar by going to the “integrations” tab on the left sidebar. (See Picture Below.) You may choose from the following types of integration methods:

  • OAuth Sync (Recommended)
  • Service Account Sync
    • This method will prompt you to upload a JSON file.

Once you have your prefered method connected & all the additional information filled out, be sure to save your product!